There are two issues that we need to determine before placement on the mounter machine.
The first issue is whether the center of the component and the center of the mounting head are consistent.
Because the SMT suction nozzle when sucking components due to the position of the components in the package and the position of the mounting head there are errors, and can not be completed to ensure that the suction nozzle sucked in the center of the components. Therefore, before mounting the position must be adjusted to ensure that the center of the component and the position of the mounting head of the center line is accurately centered.
The second issue is whether the component meets the pick and place requirements.
The components provided by the supplier does not guarantee that fully meet the assembly requirements, while components in the transportation, storage, loading and sucking process may cause accidental damage, so in the high degree of automation of the mounter, the use of the vision of the mounter system to detect whether the components “assembly performance” is qualified function.
Currently, the most widely used inspection methods are optical systems, commonly known as vision systems and laser systems.
Camera-based optical systems and laser alignment systems that utilize the characteristics of lasers each have their own characteristics and therefore differ in their use.
Laser alignment allows for “on-the-fly” corrections, has the ability to handle components of all shapes and sizes, and can determine component position and orientation on the spot. However, even sophisticated laser systems cannot measure pins and pin spacing.
Vision systems are capable of determining component position and orientation as well as measuring pins and lead spacing, so most mounters utilize vision positioning systems. Additionally, vision systems offer greater flexibility by being able to adapt to newer component packages without having to adjust the system.
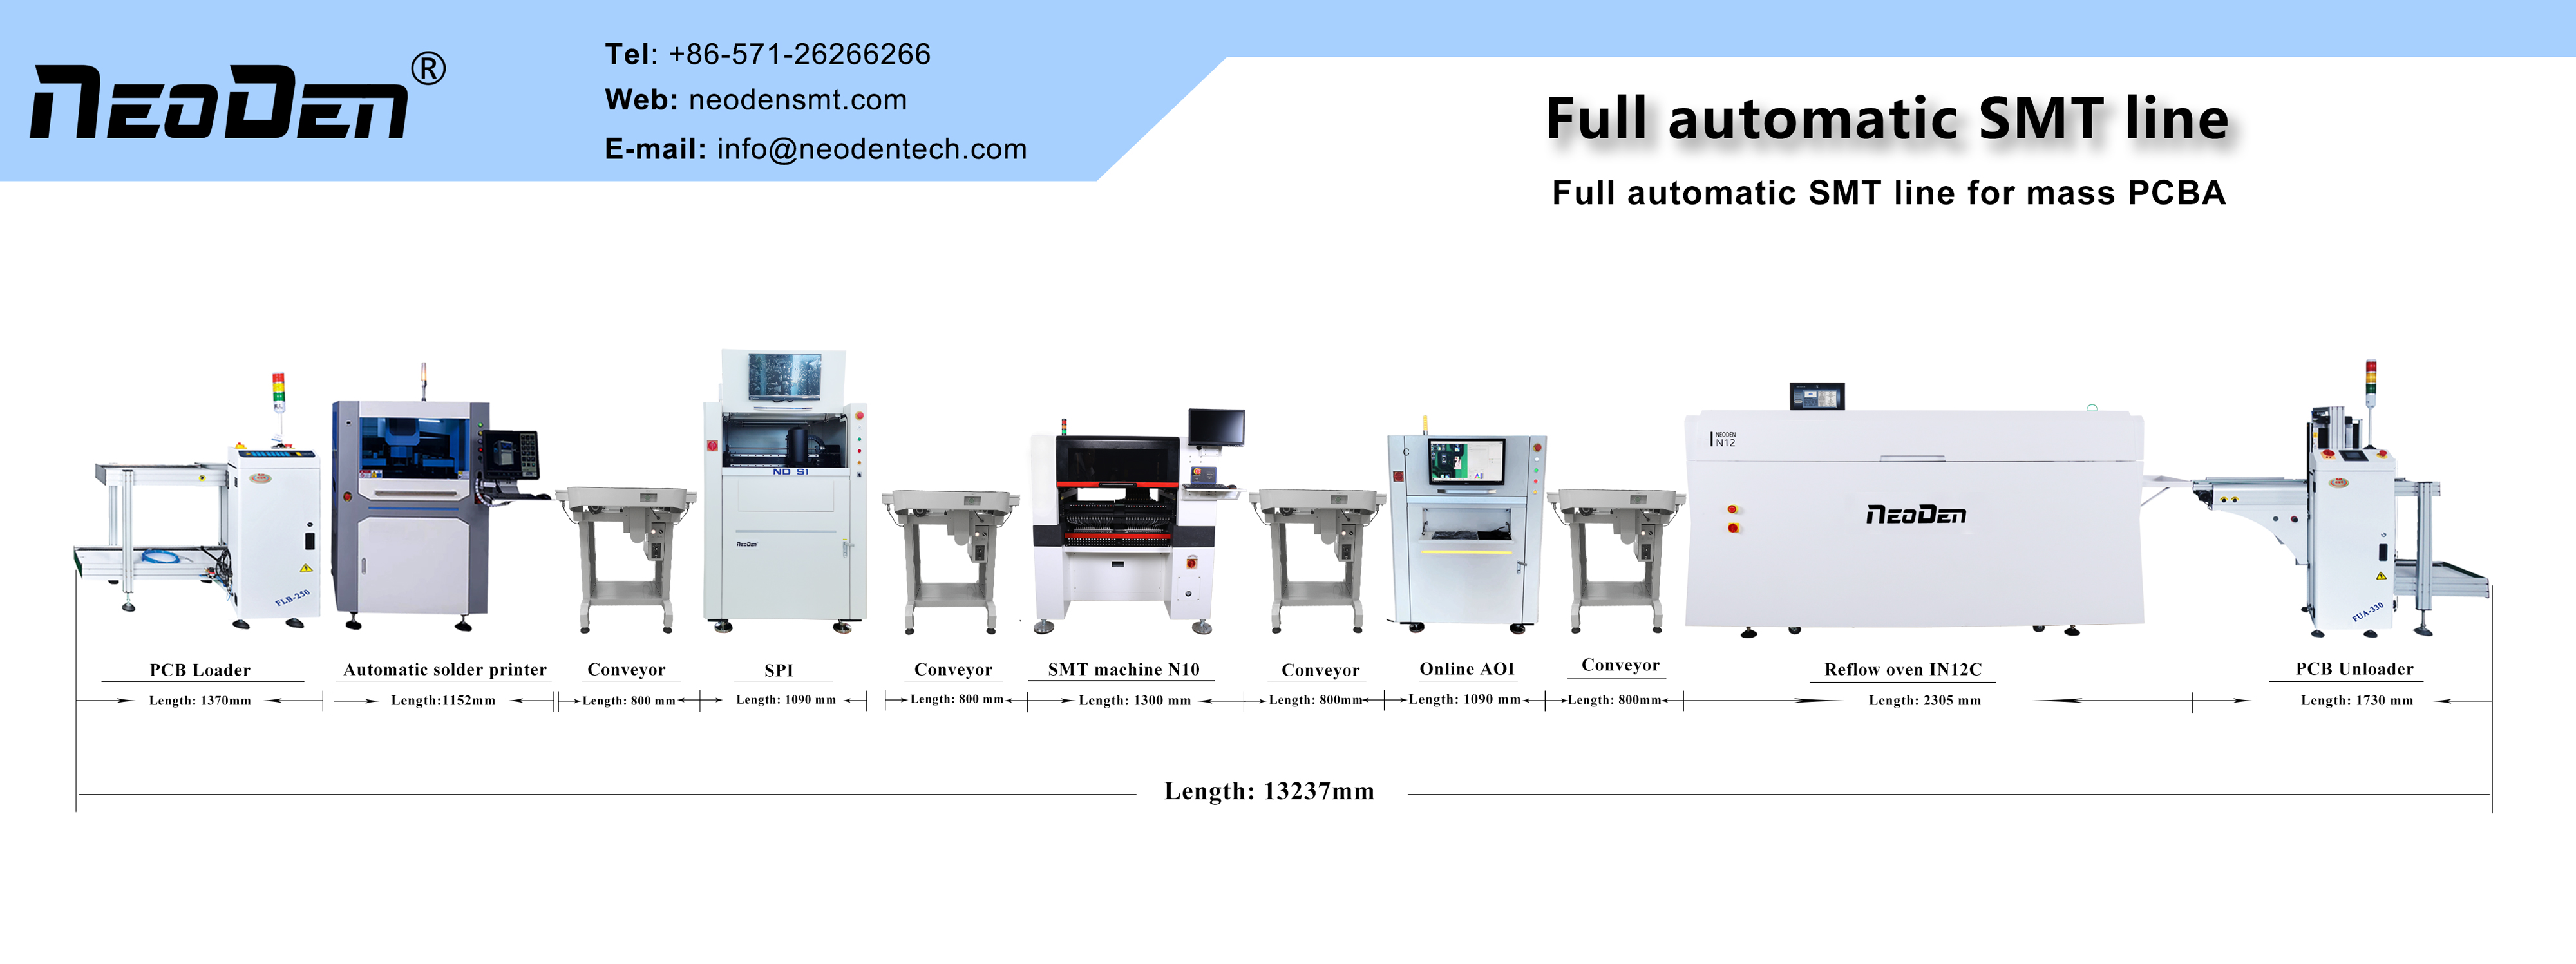
Features of NeoDen10 mounter machine
1. Front and rear with 2 fourth generation high speed flying camera recognition systems, US ON sensors, 28mm industrial lens, for flying shots and high accuracy recognition.
2. Raise PCB automatically, keeps PCB on the same surface level during placement, ensure high accuracy.
3. Equips double mark camera + double side high precision flying camera ensure high speed and accuracy, real speed up to 13,000 CPH. Using the real-time calculation algorithm without virtual parameters for speed counting.
4. The magnetic linear encoder system real-time monitor the machine’s accuracy and enables machine to correct error parameter automatically.
Post time: Aug-01-2024

